A Beginner’s Guide to Seed Saving for Tropical and Temperate Gardeners
Ever watched a plant bolt or fade and thought, “Well, that’s the end of that”? Not quite! If you’re new to gardening, here’s a little secret: every plant that flowers or fruits is holding a treasure. Yep—seeds you can save and replant again and again. That means fewer trips to the garden center and more self-sufficiency. Win-win!
In this post, I’ll walk you through the seed-saving basics I wish I knew when I started. Whether you're gardening under Caribbean sunshine or cool spring breezes, this guide is for you.
🌱 What Is Seed Saving—and Why Bother?
Seed saving is simply collecting seeds from your garden plants to grow them again next season. It’s an age-old tradition that’s making a big comeback—and for good reason. It saves money, preserves heirloom varieties, and makes your garden more resilient over time.

🌸 Which Plants Are Easiest to Save Seeds From?
If you’re just starting out, choose plants that produce seeds without needing special treatment like fermenting or drying tricks.
Try:
-
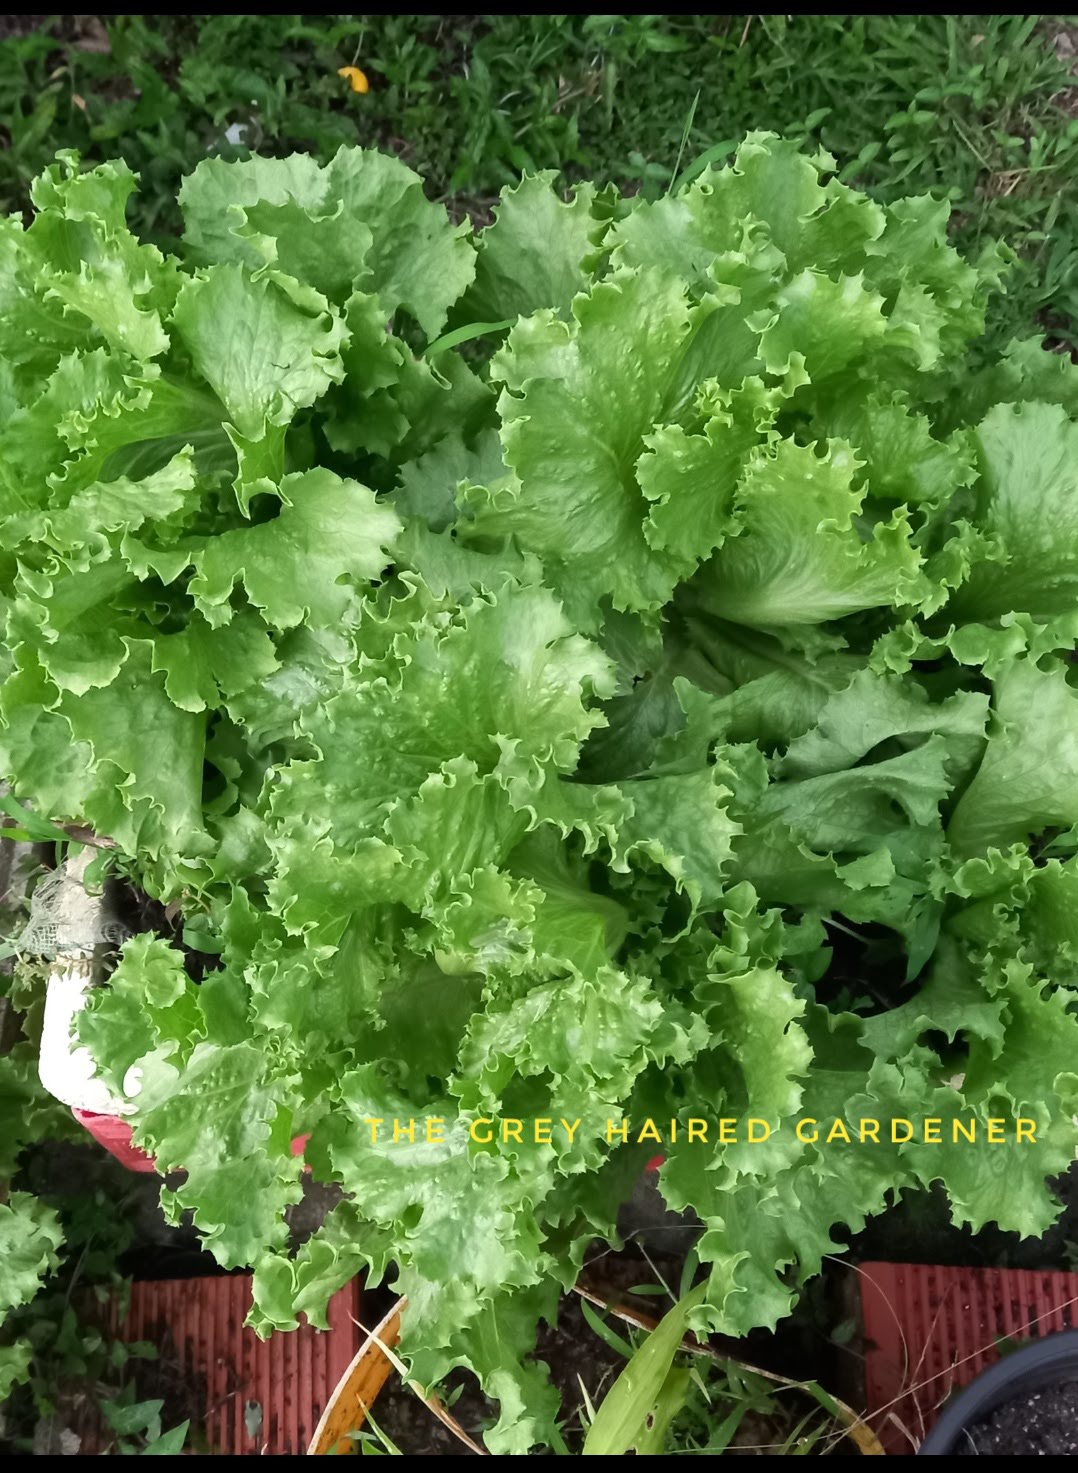
Lettuce (especially if it bolts)
-
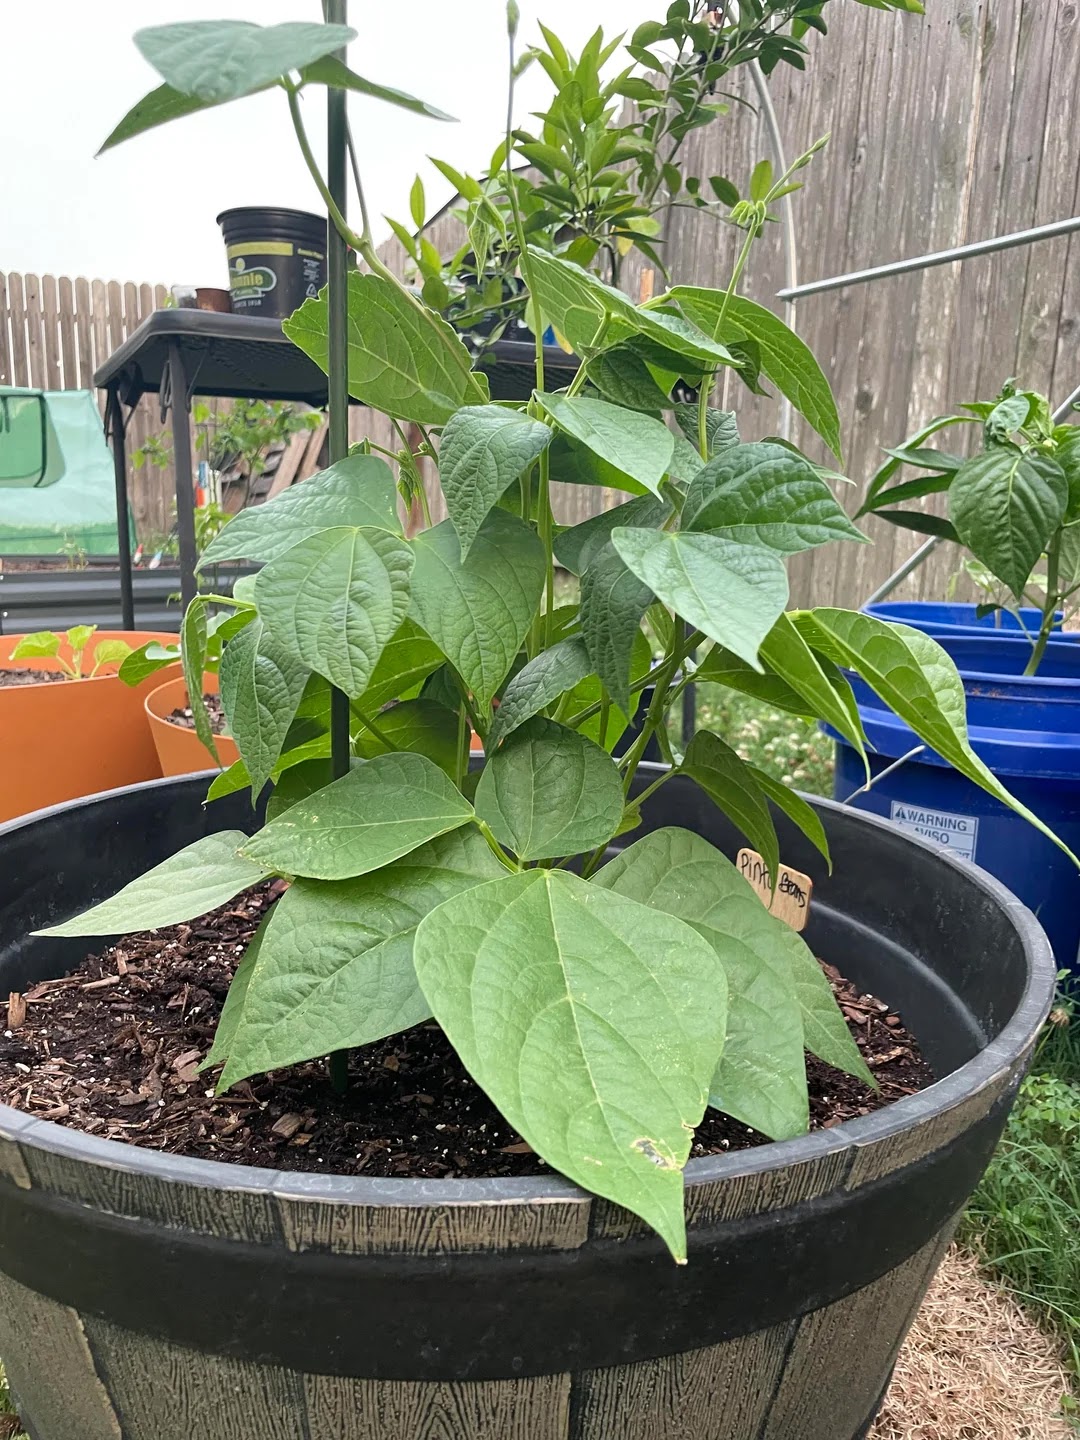
Beans
-
Sunflowers
-
Peppers
-
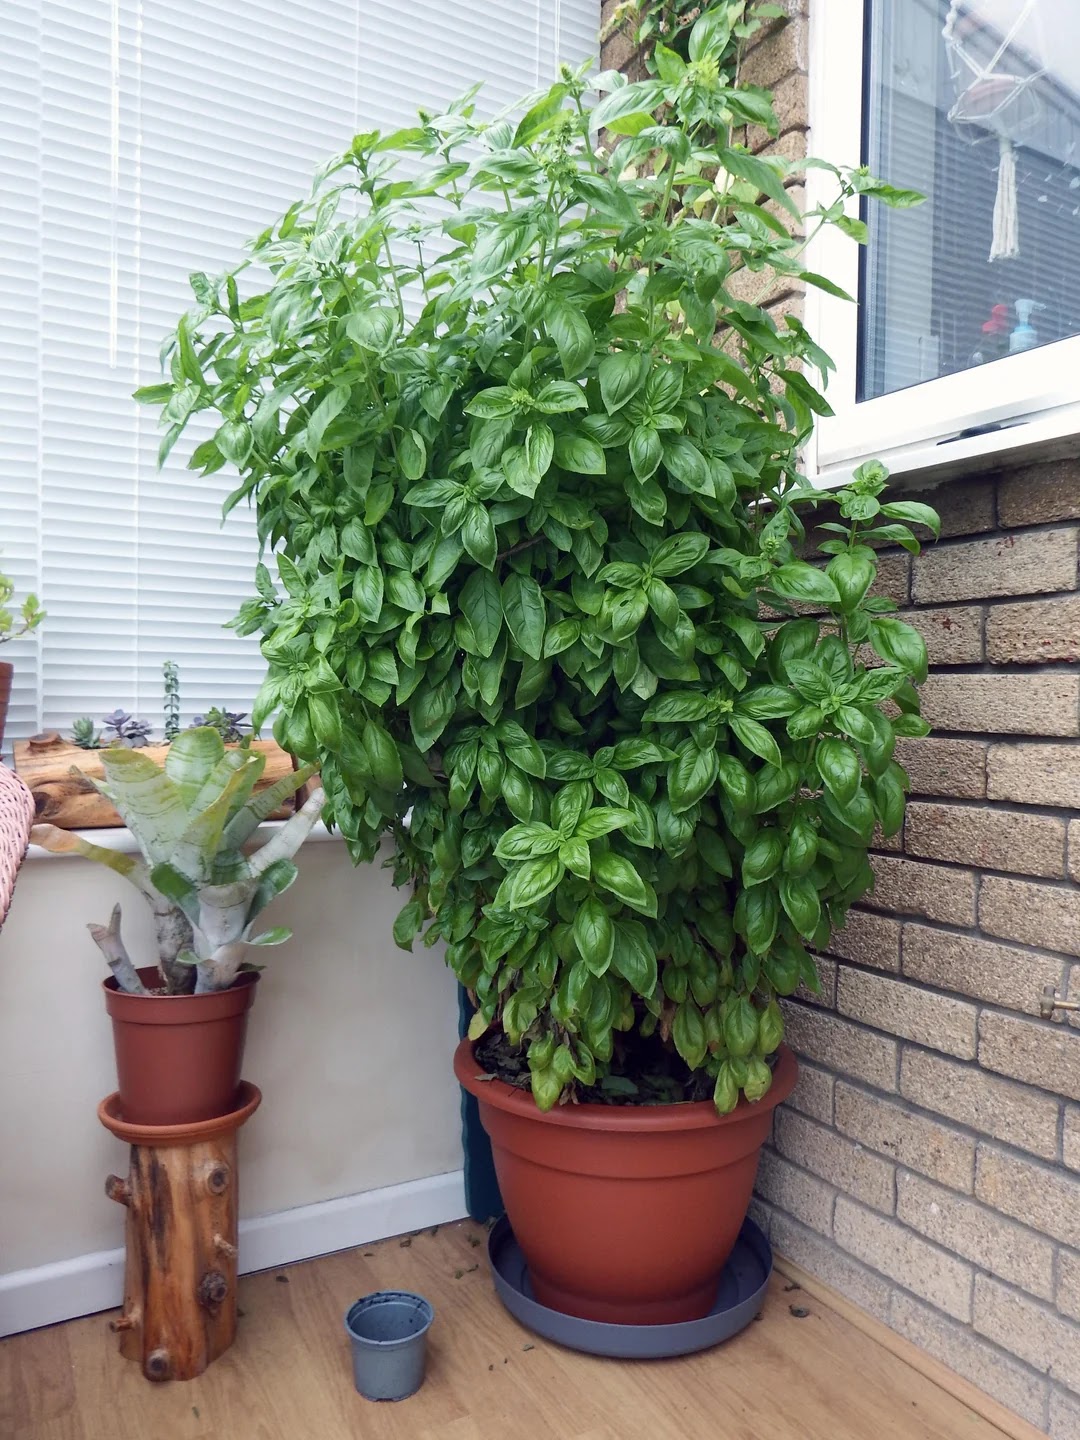
Basil
These are great starter crops that reward you with visible, easy-to-collect seeds.

Image Credits: Pexels.com
🧺 How to Harvest Seeds (Without Losing Them to the Wind!)

Image Credit: Juliano Couto from Pexels. com
-
Wait for maturity. Let the plant flower and dry out naturally on the stalk if possible.
-
Harvest at the right time. Seeds should be dry but not shattering.
-
Use a paper bag. Place it over seed heads (like lettuce or basil) to catch seeds before they scatter.
Gently separate the seeds. Remove any husks or fluff.
-
Label immediately! Trust me—seeds can easily get mixed up.
Keep it handy when harvesting seeds from your garden!
🪴 How to Store Seeds So They Don’t Go Bad
Once you've harvested your seeds, the next step is crucial—storage.
-
Keep them dry and cool. A paper envelope in a glass jar works wonders.
-
Label with name + date.
-
Store somewhere dark and moisture-free—like a pantry or drawer.
-
Avoid plastic unless the seeds are completely dry.

🌎 Seed Saving Tips for Tropical vs. Temperate Gardens
Whether you're in a sun-soaked tropical climate or a mild temperate zone, a few tweaks will help your seeds thrive:
Tropical Gardeners
-
Harvest earlier in the morning to avoid humidity
-
Use silica packets or rice to keep moisture out
-
Store in airtight jars away from heat
Temperate Gardeners
-
Use your cool basement or shed as a natural storage space
-
Be mindful of frost dates when collecting seeds late in the season
🧪 Pro Tip: Test Your Saved Seeds!
Before planting next season, do a germination test:
-
Place 10 seeds on a damp paper towel.
-
Fold, mist lightly, and place in a warm spot.
-
Check after a few days to see how many sprout.
If 7 out of 10 germinate, you’ve got a good batch!
🌟 Final Thoughts from The Grey-Haired Gardener
Saving seeds is like bottling a little garden magic. It’s thrifty, empowering, and deeply satisfying. Even when a plant bolts or goes to seed “too soon,” you’ve still got something valuable in your hands—a future garden just waiting to grow.
So go ahead, save that bolted lettuce or those dried bean pods. Try just one kind this season. You’ll be amazed how quickly it becomes second nature.
🌱 And remember: Even if you mess it up the first time—it’s all part of the adventure. You’re learning, growing, and becoming garden savvy with every seed you save.
Or better yet, tell me: What plant are you going to save seeds from this year?
Happy Gardening🌸
The Grey-Haired Gardener!
.jpg)


.jpg)


.jpg)
.jpg)


.jpg)
