So, you’ve got a few pots, a patch of sunlight, and a craving for homegrown goodness. Perfect. Container gardening is one of the easiest ways to dip your toes into growing food—without needing a backyard or a degree in botany.
In this post, I’ve picked 10 beginner-friendly veggies and herbs that grow well in containers, don’t need much fuss, and are ready for harvest faster than you can say “Where’s my salad bowl?” For each, I’ve added quick info like how easy they are to grow, how much sun they like, how deep their roots go, and how soon you’ll get to taste the results. Think of it as your container gardening cheat sheet.
Let’s dig in:
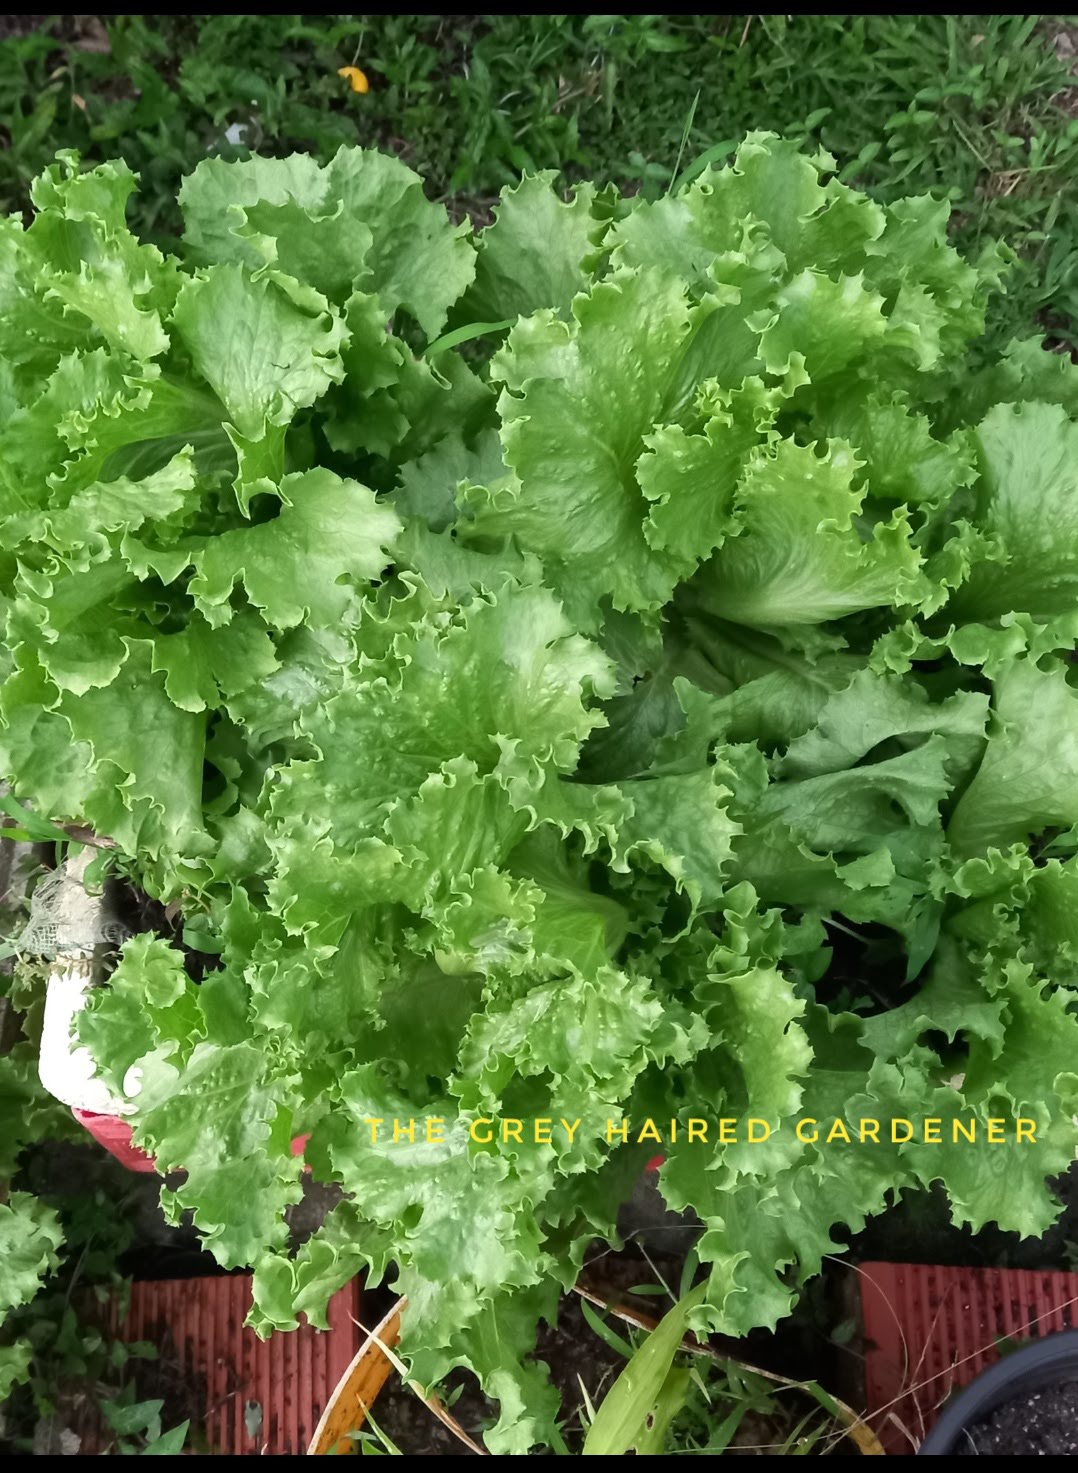
🥬 1. Lettuce
-
Ease of Growing: ★★★★★
-
Maintenance: Low
-
Days to Harvest: 30–45 days
-
Sun: Partial to full sun
-
Root Depth: Shallow (6–8")
-
Pot Tip: A wide, shallow container works best. Keep soil moist and cool.
Grey-Haired Tip: Grow loose-leaf types like Romaine or Butterhead in temperate areas and Trinity and Muir in Tropical areas—harvest the outer leaves as needed.
🌶️ 2. Peppers (Hot or Sweet)
-
Ease of Growing: ★★★★☆
-
Maintenance: Moderate
-
Days to Harvest: 60–90 days
-
Sun: Full sun
-
Root Depth: Deep (12–18")
-
Pot Tip: Use a 3–5 gallon pot minimum. Loves heat, so keep it warm.
Grey-Haired Tip: Add some Epsom salts to boost magnesium and watch those peppers pop.

🌱 3. Radish
-
Ease of Growing: ★★★★★
-
Maintenance: Very Low
-
Days to Harvest: 25–30 days
-
Sun: Full sun
-
Root Depth: Shallow (4–6")
-
Pot Tip: Great for shallow trays. Don’t overcrowd—give them room to bulb out.
Grey-Haired Tip: These are the sprinters of the veggie world. Great confidence booster for new gardeners!

🍅 4. Tomatoes (Cherry or Patio types)
-
Ease of Growing: ★★★★☆
-
Maintenance: Medium
-
Days to Harvest: 60–85 days
-
Sun: Full sun (6+ hours daily)
-
Root Depth: Deep (12–18")
-
Pot Tip: Needs support for indeterminate varieties and consistent watering. Use a 5-gallon container at least.
Grey-Haired Tip: Don’t forget to feed them! They’re hungry plants—compost or tomato feed does wonders.

🧅 5. Green Onions (Scallions or called 'Chives' in Trinidad and Tobago)
-
Ease of Growing: ★★★★★
-
Maintenance: Low
-
Days to Harvest: 30–45 days
-
Sun: Partial to full sun
-
Root Depth: Shallow (4–6")
-
Pot Tip: Small pots or window boxes work well. You can regrow them from store-bought ones too.
Grey-Haired Tip: Harvest just the green leaves only for a cut-and-come-again bonus.

🥒 6. Cucumbers (Bush variety)
-
Ease of Growing: ★★★★☆
-
Maintenance: Moderate
-
Days to Harvest: 50–70 days
-
Sun: Full sun
-
Root Depth: Medium (10–12")
-
Pot Tip: Bush types do best in containers. Use a large pot with a small trellis if needed.
Grey-Haired Tip: Keep them well-watered. Dry spells = bitter fruit.

🌿 7. Parsley
-
Ease of Growing: ★★★★☆
-
Maintenance: Low
-
Days to Harvest: 40–60 days
-
Sun: Partial sun
-
Root Depth: Medium (6–8")
-
Pot Tip: Shallow root system so a small container works well. Slow starter but worth the wait.
Grey-Haired Tip: Harvest the lower leaves instead of the entire plant to extend the life of the plant.

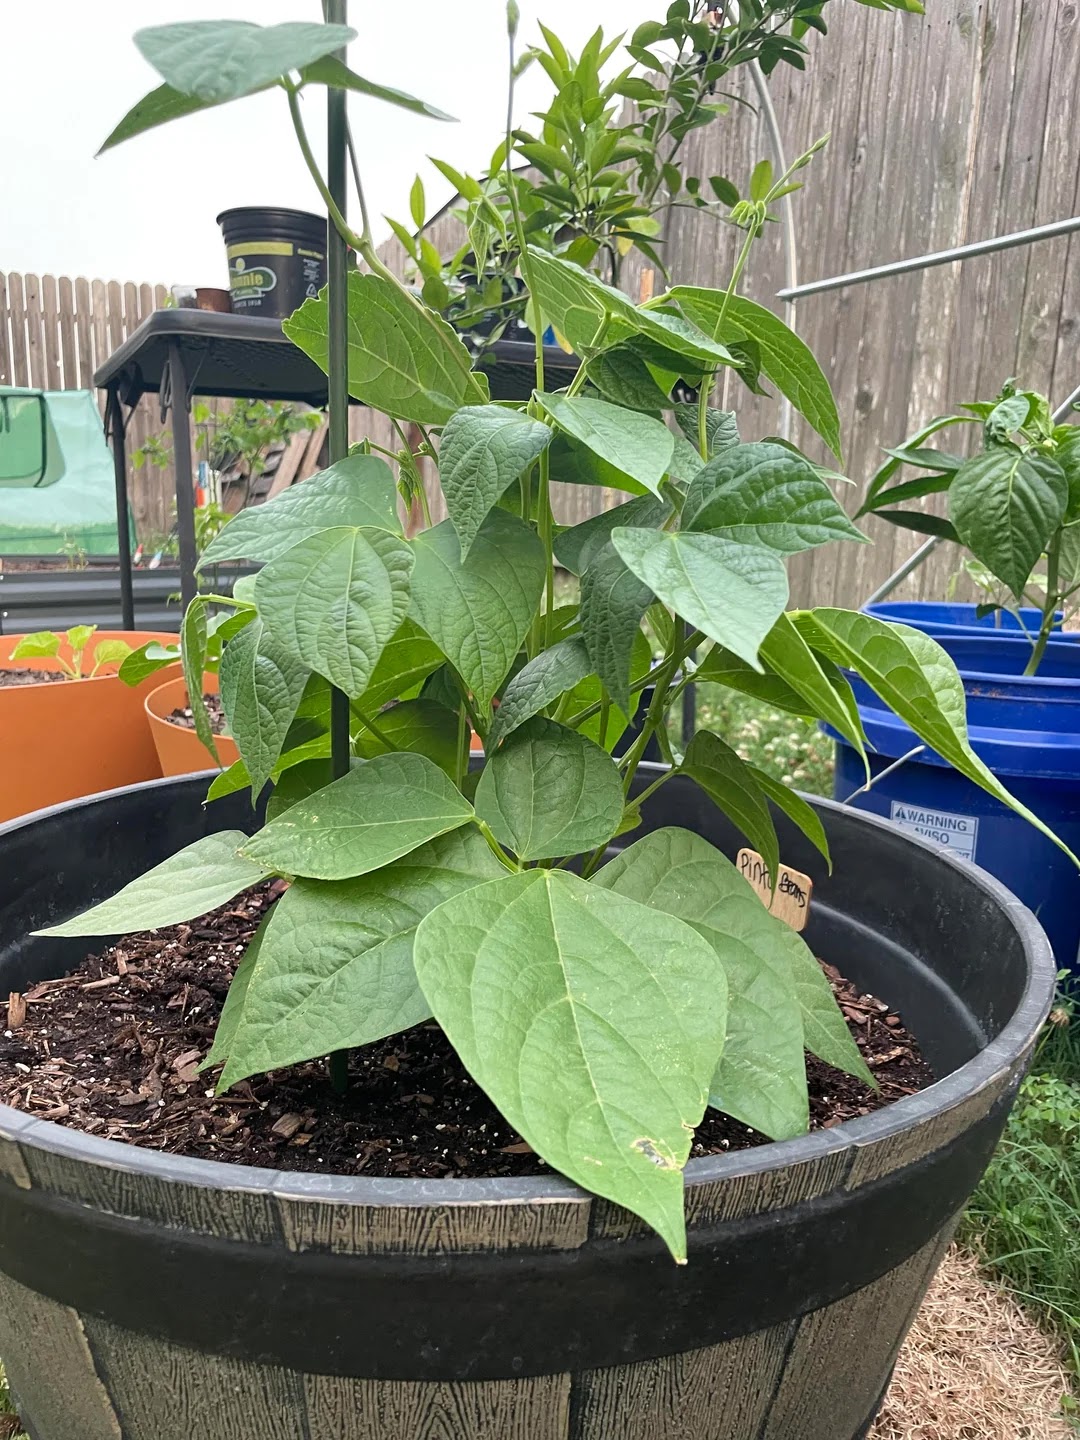
🫘 8. String Beans (Bush type)
-
Ease of Growing: ★★★★★
-
Maintenance: Low
-
Days to Harvest: 50–60 days
-
Sun: Full sun
-
Root Depth: Medium (8–10")
-
Pot Tip: Go for bush varieties in a wide container. Water consistently.
Grey-Haired Tip: Harvest often to keep the plant producing. Beans like to show off.
🌿 9. Basil
-
Ease of Growing: ★★★★★
-
Maintenance: Low
-
Days to Harvest: 30–45 days
-
Sun: Full sun
-
Root Depth: Shallow (6–8")
-
Pot Tip: Loves warmth and hates soggy roots—well-drained soil is a must.
Grey-Haired Tip: Pinch off flower buds to keep it leafy and lush. Sniff often—it’s good for the soul. Pot extra cuttings into new plants or make delicious pesto!
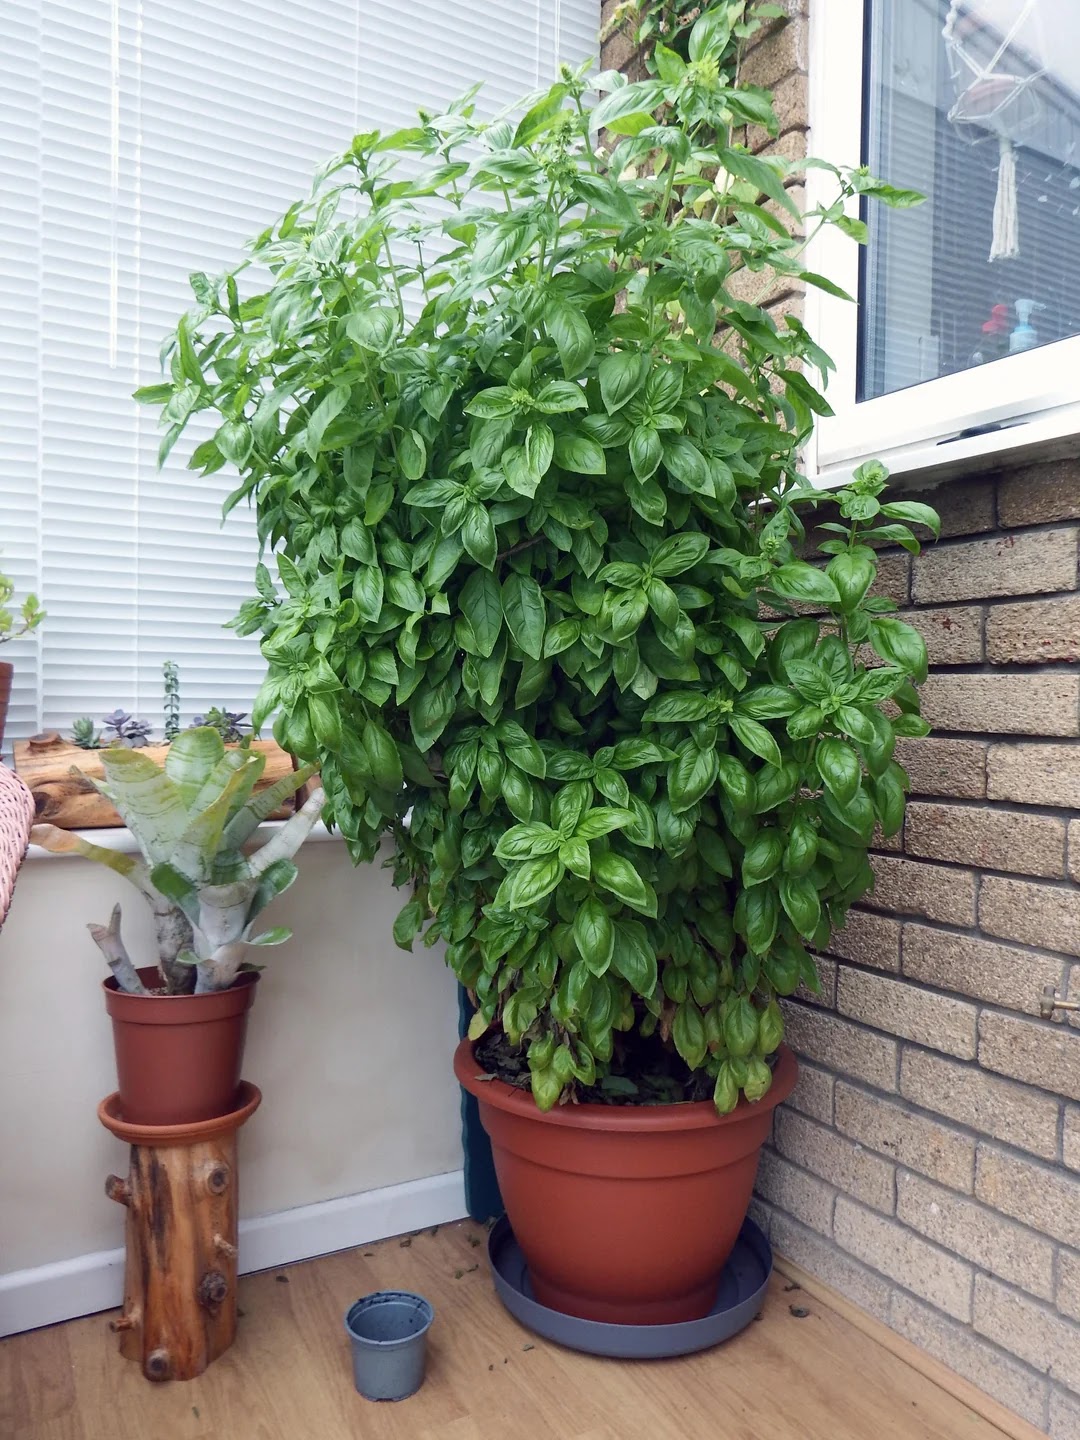
Image Credit: Reddit
🥬 10. Pak Choi / Bok Choi
-
Ease of Growing: ★★★★☆
-
Maintenance: Low
-
Days to Harvest: 30–40 days
-
Sun: Partial to full sun
-
Root Depth: Medium (8–10")
-
Pot Tip: Space closer together for tight heads or wider for open growth habit. Shallow, wide pots work well.
Grey-Haired Tip: Try baby bok choi—it’s tender, fast, and perfect for stir-fries.

Image Credit: Reddit
Final Thoughts from the Garden Bench...
Starting small is smart. These plants don’t need a fancy setup or a big backyard—just a bit of love, water, and sunshine. Pick a few from the list, grab a pot, and start growing your own food—in your back yard, patio, windowsill, or back step.
Remember: Every harvest, no matter how tiny, is a win. It means you grew something with your own two hands. And that’s pretty incredible!
So here’s to dirty fingernails, fresh flavours, and your first container harvest. Let’s grow!
Happy Gardening!
🌱The Grey-Haired Gardener
.jpg)
.jpg)


.jpg)


.jpg)